
It’s pretty evident that Cricut keeps launching various cutting machines regularly to encourage DIYers to enhance their skills. Amongst all of them, Cricut Explore is smarter and faster when it comes to creating custom projects. The machine works with 6 different tools for cutting and embossing 100+ materials. Apart from that, this model is compatible with Smart Materials and perfectly cuts up to 12ft without the need for a machine mat.
Besides, Explore comes into two models: Explore 3 & Explore Air 2, giving crafters the chance to create more projects. Along with this Cricut cutter machine, the DIYers will also get supplies that will help them in giving perfect formation to their idea. Inside this blog, we’ve taught how to use Cricut Explore along with the setup & connection process.
How to Setup Cricut Explore 3 on Mobile Devices?
After getting an overview of what Cricut Explore is, let’s take a step further by learning about how to set it up with mobile devices. For that, you need to examine the steps given below:
- First, plug in your cutting machine & turn it on.
- Afterward, enable your smartphone’s Bluetooth & connect it to your machine.
- Next, open the App Store (iOS users) or Play Store (Android users) to install the Cricut Design Space.
- Following the installation of the app, launch it and create your Cricut ID.
- Now, press the Menu bar and choose the Cricut Machine Setup option.
- After that, choose your machine model and follow the on-screen instructions to finish the setup.
- Lastly, you will come across about the setup completion when called for a test cut.
After setting up the cutting machine with mobile, you need to connect both devices together. Once the connection process is over, it will be easy for the user to learn how to use Cricut Explore.
How to Connect Cricut Explore 3 to Mobile Devices via Bluetooth?
Have a look at the following steps to learn about connecting Cricut Explore 3 to smartphones via in-built Bluetooth technology:
For iOS (iPhone & iPad)
- First, ensure that your Cricut cut die machine is on and within the 10-15 range of your iOS device.
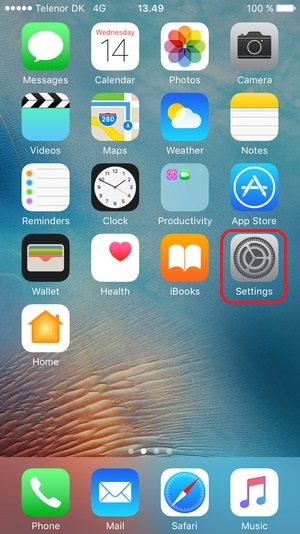
- Next, tick the Settings app visible on your device’s home screen.
- After opening the settings, press the Bluetooth option and turn on your Bluetooth.
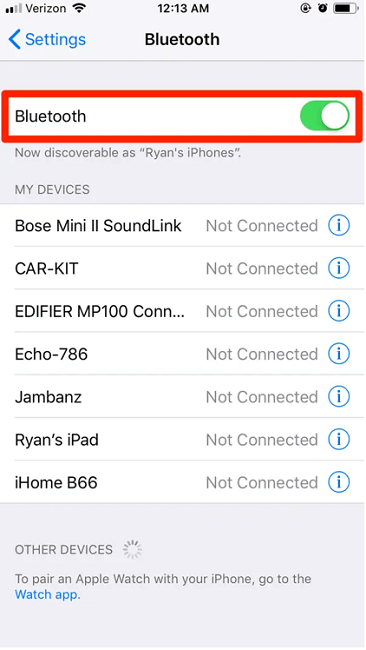
- Now, you have to wait till your device is scanning for the Cricut machine.
- After the process is complete, choose your Explore 3 from the list appearing on the screen.
- Further, your iOS device and cutting machine are now connected successfully.
- Following this, go back to the Cricut Design Space & New Product Setup.
- Lastly, your Cricut machine will be displayed as connected during setup.
Besides iOS devices, Android users can also connect their craft plotters by reading the details given in the below section.
For Android
- Before beginning the connection, check that your Explore 3 is on & placed within 10-15 ft of your Android device.
- Afterward, open the Settings section and select the Bluetooth option.
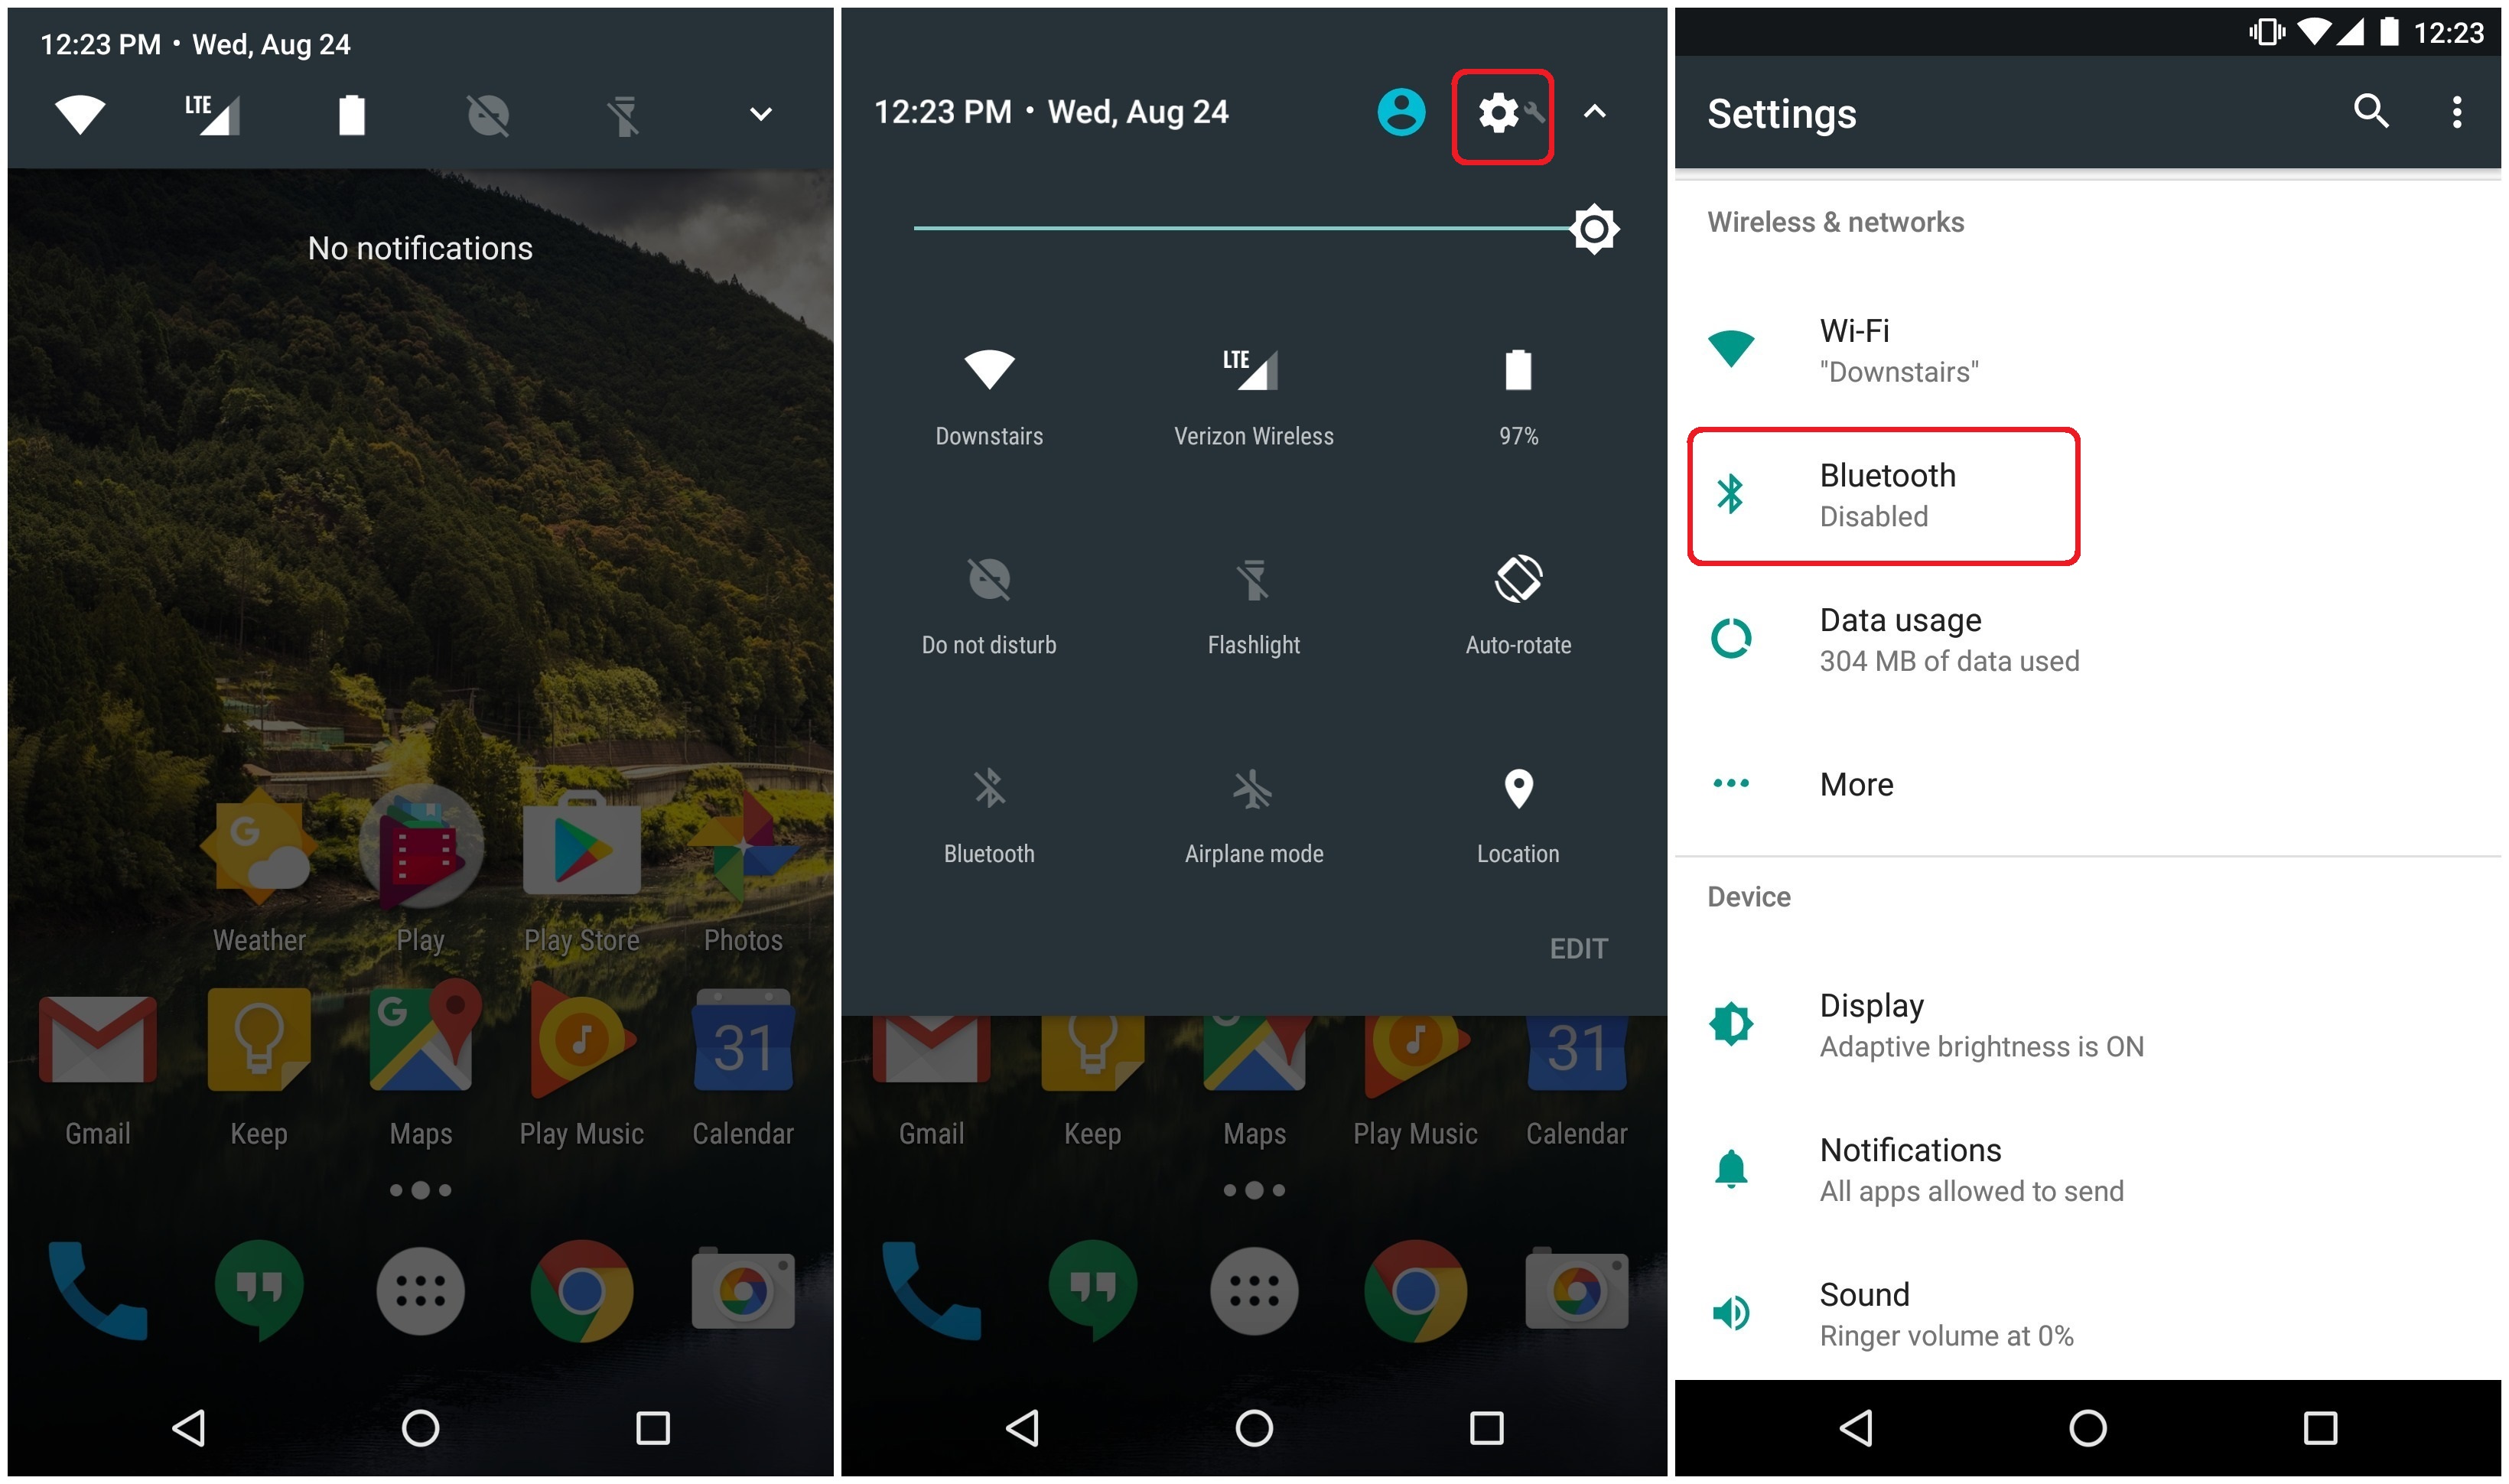
- Further, select your Cricut machine from the list visible on the screen.
- After a few minutes, the wireless connection process will come to an end.
- Now, go back to the Cricut Design Space and Cricut New Machine Setup page, and your Explore 3 will be visible as connected during the setup process.
After finishing up the Cricut Explore 3 setup & connection process, the DIYer can easily create custom projects. The upcoming section will let you know the custom project that can be made out of this electronic cutting machine.
What Projects Can You Make With Cricut Explore 3?
In this section, we’ve given some of the demanding projects that you can create by using this cutting machine along with its bundle, tools, and supplies. It will help you come across in detail how to use Cricut Explore for starting a business or redecorating a home. Have a look at the names of the custom projects that can be made out from Explore 3 below:
- DIY T-Shirts
- Wood Hangers
- Custom Socks
- Aprons
- Hats
- Canvas Shoes
- Birthday Cards
- Pop-up Cards
- Thank You Cards
- Crepe Paper Flowers
- Small Paper Flowers
- Paper Botanicals
- Makeup Brush Holders
Isn’t it exciting how many types of crafts you can create with this smart cutting machine at your home? We gave our best shot at making you understand how to use Cricut Explore for various purposes.
Frequently Asked Questions
Question: How Can I Connect My Cricut Machine With Smartphones via USB Cable?
Answer: Go through the following steps to learn about connecting devices with a USB cable:
- Insert a USB cable to one end of the PC port and another end to your cutting machine port.
- Ensure that your Cricut machine is on and its power button should lit up.
- Now, go back to the New Setup page & your machine will be shown as connected.
Question: How Do I Setup Cricut Explore 3 With My Smartphone?
Answer: Read the given below steps to learn about setting up a machine with smartphones:
- Start by plugging in your cutting machine & turning it on.
- Next, enable your smartphone’s Bluetooth & connect it with your machine.
- Now, download & install the Design Space app on your smartphones.
- After the app installation, launch it and create your Cricut ID.
- Under the Menu section, select the Machine Setup option.
- Choose your machine model and follow the on-screen instructions to finish the setup.
Question: What are the Projects That Can Be Created With Explore 3 Machine?
Answer: It doesn’t matter whether you are a fresher or a pro-level crafter; you can create numerous projects out of the machine. The list of the projects includes:
- Pop-up Cards
- Thank You Cards
- Crepe Paper Flowers
- Small Paper Flowers
- Paper Botanicals
- Makeup Brush Holders
- DIY T-Shirts
- Wood Hangers
- Custom Socks
- Aprons
- Hats
- Canvas Shoes
- Birthday Cards